For several years we lived in Baughurst, a small village near Tadley in Hampshire, UK and one of our next door neighbours was Jill a Besom Broom maker. A settled traveler making these was in her blood and she was a joy to watch. In the summer Jill used to sit on a chair outside her garage, a pile of Birch twigs and wood handles ready and weave her magic.
Since at least the 14th century Tadley and Baughurst had a proud history of Besom Broom making. The villages were near enough London to send carts loaded with brooms to sell. The growth of the use of these brooms had blossomed after the Black Death when people began to be required to clean the streets in front of their accommodation. In 1953 there were at least ten ‘broom squires’ working in the area, by 1965 this had fallen to two and I was lucky enough to live next door to one of them.
My big regret has always been that we took the brooms and access to them for granted. So much so that we never thought to buy one, even though we had seen them being made from scratch. Sadly Jill is no longer with us now to buy one from.
Fast forward many years and all of my memories of watching Jill came flooding back when as part of my training with the Order of Bards, Ovates and Druids(OBOD) was the suggestion to make a Besom Broom.
I live in an area with many mature trees and in the garden have Ash and Hawthorn as well as immature Oaks but sadly not a Birch in sight. Having had the hedges tidied in early spring before the birds began nesting we had left the trimmings in a pile at the end of the garden. I began by thinking I would find what I needed there even if it wasn’t Birch and sure enough pulled out loads of twigs that looked long enough for the brush part and two pieces of wood that had been part of the winter windfall, one of Ash and one of Hawthorn strong enough for handles. These I put to one side to dry out further.
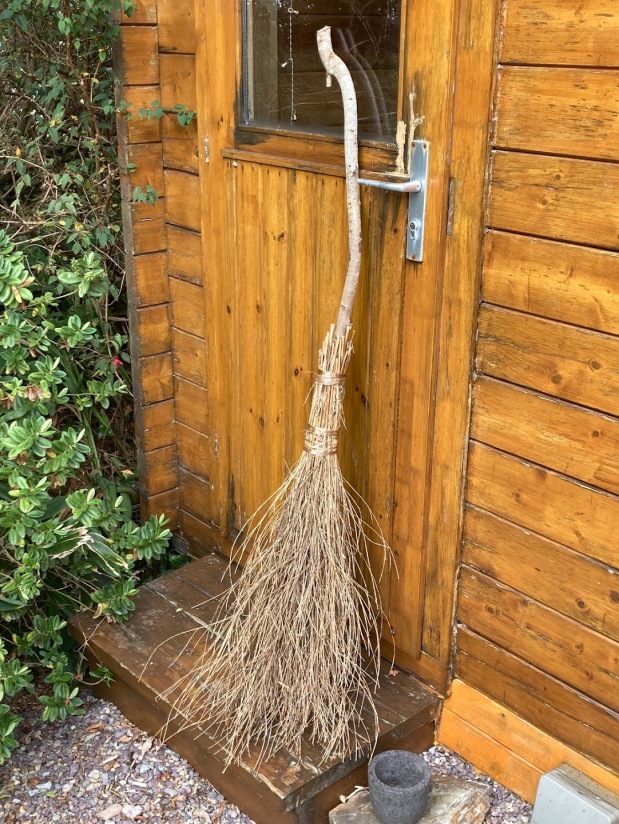
As soon as I began to collect the twigs together once they were dry, it became quite clear that they would not be strong nor flexible enough for a broom. My husband came to the rescue suggesting that I cut back some of our overgrown bamboo and used that instead. At first sceptical I researched this online and found it to be a good substitute for Birch and so I cut what I thought I would need and left them to dry.
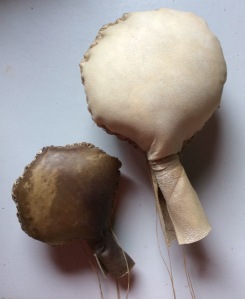
Once the leaves on the cut bamboo had dried and were easy to brush off I collected the stems I needed together and bound them tightly (with a little help to hold them tight). Too lazy to cut, strip, soak and dry brambles I admit I cheated a little and used some artificial sinew left from shamanic drum making. I was undecided between the two pieces of wood for the handle until the Hawthorn made it quite clear to me that it was that I was meant to use. Once it had I realised how Well it fitted into my hand.
As soon as the handle was fitted into the bamboo I wanted to try it out and so used it to sweep the stone slab outside of our conservatory. I’d like to say it worked but sadly not. The bristles splayed and although tied securely felt as though they were twisting round the handle. The solution was to tie again, twice more this time further down the broom to hold the bristles further. Problem solved.
I have just used my Besom Broom to sweep the carpet in the shed I use for crafting. The carpet was covered in twigs, leaves and who knows what else, but the broom made short work of it. It feels firm, solid, strong and although I can see things I could have improved on, for me it is a thing of beauty, a really practical tool, magic in the way it cleans and it is all mine 🙂


You must be logged in to post a comment.